INTRO:
The holiday season is here, and it’s time to get into the festive spirit with a stunning Christmas manicure. A fresh and glowing manicure can elevate your holiday look and add a touch of glamour to any outfit. In this article, we will guide you through the essential steps and techniques to achieve a flawless Christmas manicure that will make your nails stand out during this joyous season.
Section 1: Preparing Your Nails for the Christmas Manicure
Before diving into the world of festive nail art, it’s crucial to prepare your nails properly. Follow these steps to ensure your nails are ready for the ultimate Christmas manicure:
1. Clean and Shape:

Start by removing any existing nail polish and cleaning your nails thoroughly. Use a nail file to shape them into your preferred style, such as square, round, or oval.
2. Cuticle Care:
Gently push back your cuticles using a cuticle pusher or a wooden stick. Avoid cutting them excessively, as this can lead to irritation and infection. Hydrate your cuticles by applying cuticle oil or a nourishing cream.
3. Buffing and Smoothing:
Use a gentle buffer to smooth the surface of your nails and remove any ridges. This step creates a perfect canvas for your Christmas manicure while promoting healthier nail growth.
Section 2: Achieving a Fresh and Glowing Christmas Manicure
Now that your nails are prepped, it’s time to make them shine with a fresh and glowing Christmas manicure. Follow these tips to achieve stunning results:
1. Base Coat Application:
Apply a thin layer of base coat to protect your nails and prevent staining. A base coat also helps the nail polish adhere better and increases the longevity of your manicure.
2. Festive Color Palette:
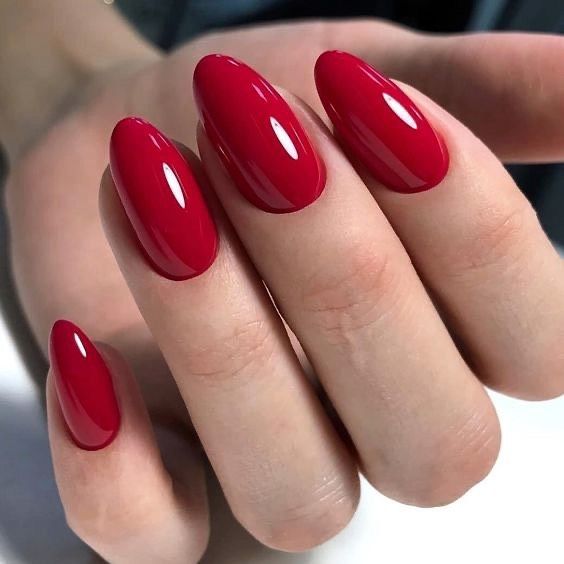
Embrace the holiday spirit by choosing festive colors for your Christmas manicure. Classic choices include deep reds, emerald greens, rich golds, and icy silvers. Experiment with different shades and finishes to create a unique and personalized look.
3. Nail Art and Designs:
Get creative with nail art and designs to add an extra festive touch to your manicure. Consider incorporating holiday-themed elements like snowflakes, reindeer, Christmas trees, or ornaments. You can use nail art brushes, stencils, or nail stickers to achieve intricate designs with ease.
4. Glitter and Shimmer:
Add a touch of sparkle to your Christmas manicure by incorporating glitter or shimmer. Apply a glittery top coat or accentuate specific nails with glitter polish for a dazzling effect.
5. Finishing Touches:
Once your nail polish and nail art are complete, seal your manicure with a high-quality top coat. This step adds shine, protects the design, and ensures long-lasting wear.
Conclusion
With these essential steps and techniques, you’re well on your way to achieving a fresh and glowing Christmas manicure that will make your nails a festive standout. Remember to take care of your nails by moisturizing them regularly and maintaining proper hygiene. Embrace your creativity and let your holiday spirit shine through your gorgeous nails. Get ready to celebrate the season with a manicure that will leave everyone impressed and add an extra touch of glamour to your holiday look.